
Pan Seared Chicken Thighs are the kind of dinner I turn to when I want something simple that still feels like a proper homemade meal. The chicken cooks in one skillet, develops a beautiful golden crust, and stays juicy and tender inside.
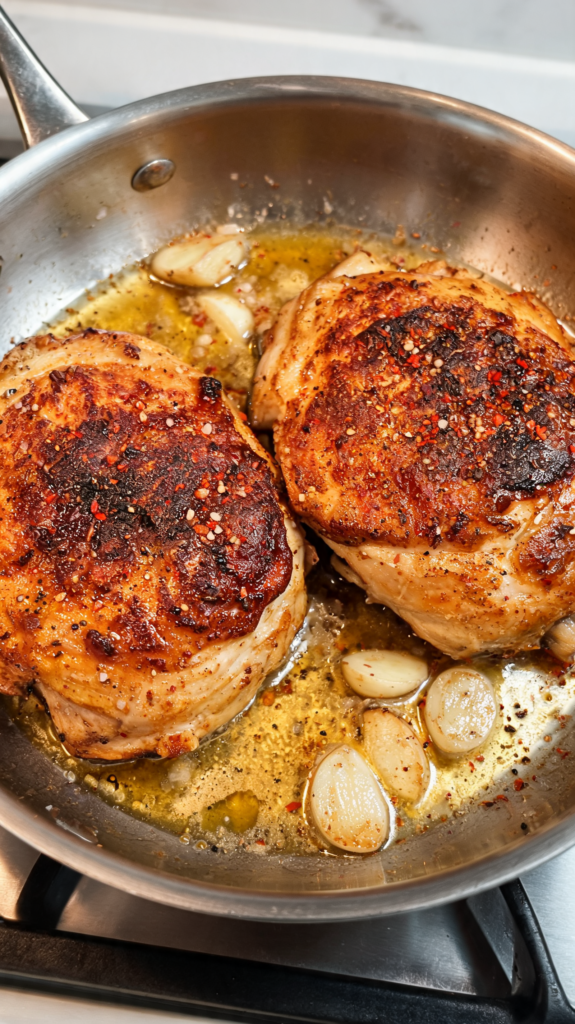
The secret is really in the searing. Give the chicken enough time in the hot pan without constantly moving it, and you get those crisp, browned edges that make chicken thighs so good. A little butter and garlic at the end adds even more flavor without making the recipe complicated.
I like recipes like this because they leave you plenty of room to choose the sides. You can make potatoes, rice, vegetables, or a simple salad while the chicken cooks, so dinner doesn’t have to feel like a big project.
Why You Will Love This Recipe
You will love Pan Seared Chicken Thighs because you only need a few basic ingredients and one skillet. Chicken thighs are naturally flavorful and forgiving, so even if you’re not an experienced cook, this is a good recipe to have in your rotation.
The outside gets nicely browned while the inside stays moist and tender. Once you learn to let the chicken sit undisturbed in the pan long enough to form a crust, this becomes one of those recipes you can make almost without thinking.
Ingredients for Pan Seared Chicken Thighs
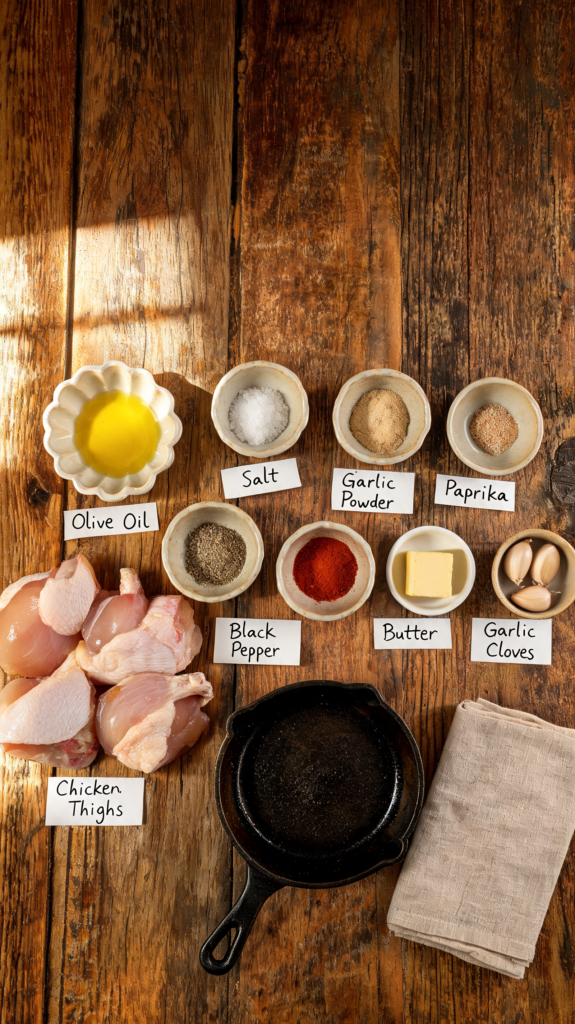
For the Chicken
- 2 chicken thighs – Boneless, skinless thighs cook quickly, but bone-in thighs can also be used with a little extra cooking time.
- 1 tablespoon olive oil – Helps the chicken brown evenly in the skillet.
- ½ teaspoon salt – Brings out the natural flavor of the chicken.
- ½ teaspoon black pepper – Adds simple seasoning.
- ½ teaspoon garlic powder – Gives the chicken a savory garlic flavor.
- ½ teaspoon paprika – Adds color and a mild, warm flavor.
For Finishing
- 1 tablespoon butter – Adds richness and helps flavor the chicken as it finishes cooking.
- 1 garlic clove – Adds fresh garlic flavor to the buttery pan juices.
How to Make Pan Seared Chicken Thighs
- Pat the chicken dry. Use paper towels to dry both sides of the chicken. Removing excess moisture helps the surface brown properly in the skillet.
- Season the chicken. Sprinkle both sides with salt, black pepper, garlic powder, and paprika. Rub the seasonings gently into the chicken so they stick.
- Heat the skillet. Place a heavy skillet over medium-high heat and add the olive oil. Let the oil become hot before adding the chicken.
- Add the chicken. Place the thighs in the skillet and leave them alone once they hit the pan. You should hear a steady sizzle.
- Sear the first side. Cook for about 5–6 minutes without moving the chicken. This gives the outside time to develop a deep golden-brown crust.
- Flip the chicken. Turn the thighs over and continue cooking for another 5–7 minutes. The exact time will depend on the size and thickness of your chicken.
- Add the butter and garlic. Lower the heat to medium and add the butter and garlic to the skillet. Let the butter melt around the chicken.
- Baste the chicken. Use a spoon to scoop the melted butter and pan juices over the chicken several times. This adds flavor and keeps the outside beautifully coated.
- Check for doneness. Insert a meat thermometer into the thickest part of the chicken. It should reach 165°F (74°C) for safe eating.
- Cook a little longer if needed. If the chicken has browned but hasn’t reached the proper temperature, lower the heat and continue cooking until it is done. This prevents the outside from burning while the inside finishes.
- Let the chicken rest. Transfer the cooked thighs to a plate and let them rest for about 5 minutes. This gives the juices time to settle so the chicken stays moist when you cut into it.
- Spoon over the pan juices. Before serving, drizzle some of the buttery juices from the skillet over the chicken. There is a lot of flavor left in that pan, so don’t let it go to waste.
What to Serve Pan Seared Chicken Thighs
Pan Seared Chicken Thighs are easy to pair with almost any side, which is one reason I like keeping this recipe in my dinner rotation. Mashed potatoes, roasted potatoes, rice, or pasta all work well because they give you something to enjoy with the buttery pan juices. If you want a simpler plate, steamed broccoli, green beans, asparagus, or roasted carrots add color and freshness without taking much extra effort.
For a lighter dinner, serve the chicken with a crisp green salad and some roasted vegetables. The chicken is rich and savory, so fresh vegetables help balance the meal. A simple salad with lettuce, cucumber, tomatoes, and a light dressing is more than enough.
You can also turn the chicken into a more complete skillet-style dinner by cooking some vegetables in the same pan after the chicken is finished. Mushrooms, green beans, zucchini, or spinach can all work well. The vegetables pick up some of the flavorful butter and browned bits left in the skillet.
If you’re serving this for a family dinner, I like putting the chicken on a platter and spooning the pan juices over the top just before serving. Keep the sides simple and let the crispy chicken be the main attraction.
How to Store and Reheat
Store leftover Pan Seared Chicken Thighs in an airtight container in the refrigerator for up to 3–4 days. Let the chicken cool slightly before putting it away, but don’t leave cooked chicken sitting at room temperature for an extended period. If you have leftover pan juices, save them in the same container or in a small separate container because they can help keep the chicken flavorful when reheated.
For the best reheating results, I prefer using a skillet. Place the chicken in a skillet over medium-low heat and add a small splash of chicken broth or water. Cover the pan and let the chicken warm slowly. The little bit of moisture helps prevent the chicken from drying out, which can happen if you reheat it over high heat.
You can also use the microwave when you’re in a hurry. Place the chicken on a microwave-safe plate, cover it loosely, and heat it in 30–60 second intervals until warmed through. Avoid heating it for too long at once because chicken thighs can become tough when overheated.
If you want to bring back some of the crispness on the outside, finish the reheated chicken in a hot skillet for a minute or two on each side. I find this gives leftovers a much better texture than simply microwaving them.
Leftover chicken is also useful in other meals. Slice it and add it to a salad, wrap it in a tortilla with vegetables, or serve it over rice with some of the leftover pan juices. That way, you don’t feel like you’re eating the exact same dinner again.
Ingredients
Method
- Pat the chicken thighs dry with paper towels. Removing surface moisture helps the chicken develop a better seared crust.
- Season both sides of the chicken with salt, black pepper, garlic powder, and paprika, rubbing the seasonings evenly over the meat.
- Heat a large skillet over medium-high heat and add the olive oil. Let it become hot before adding the chicken.
- Place the chicken thighs smooth-side down in the skillet. Leave them undisturbed for about 5–7 minutes so a golden crust can form.
- Flip the chicken thighs and cook for another 5–6 minutes until the second side is browned and the chicken is nearly cooked through.
- Add the butter and garlic to the skillet. Let the butter melt and become fragrant while spooning it over the chicken.
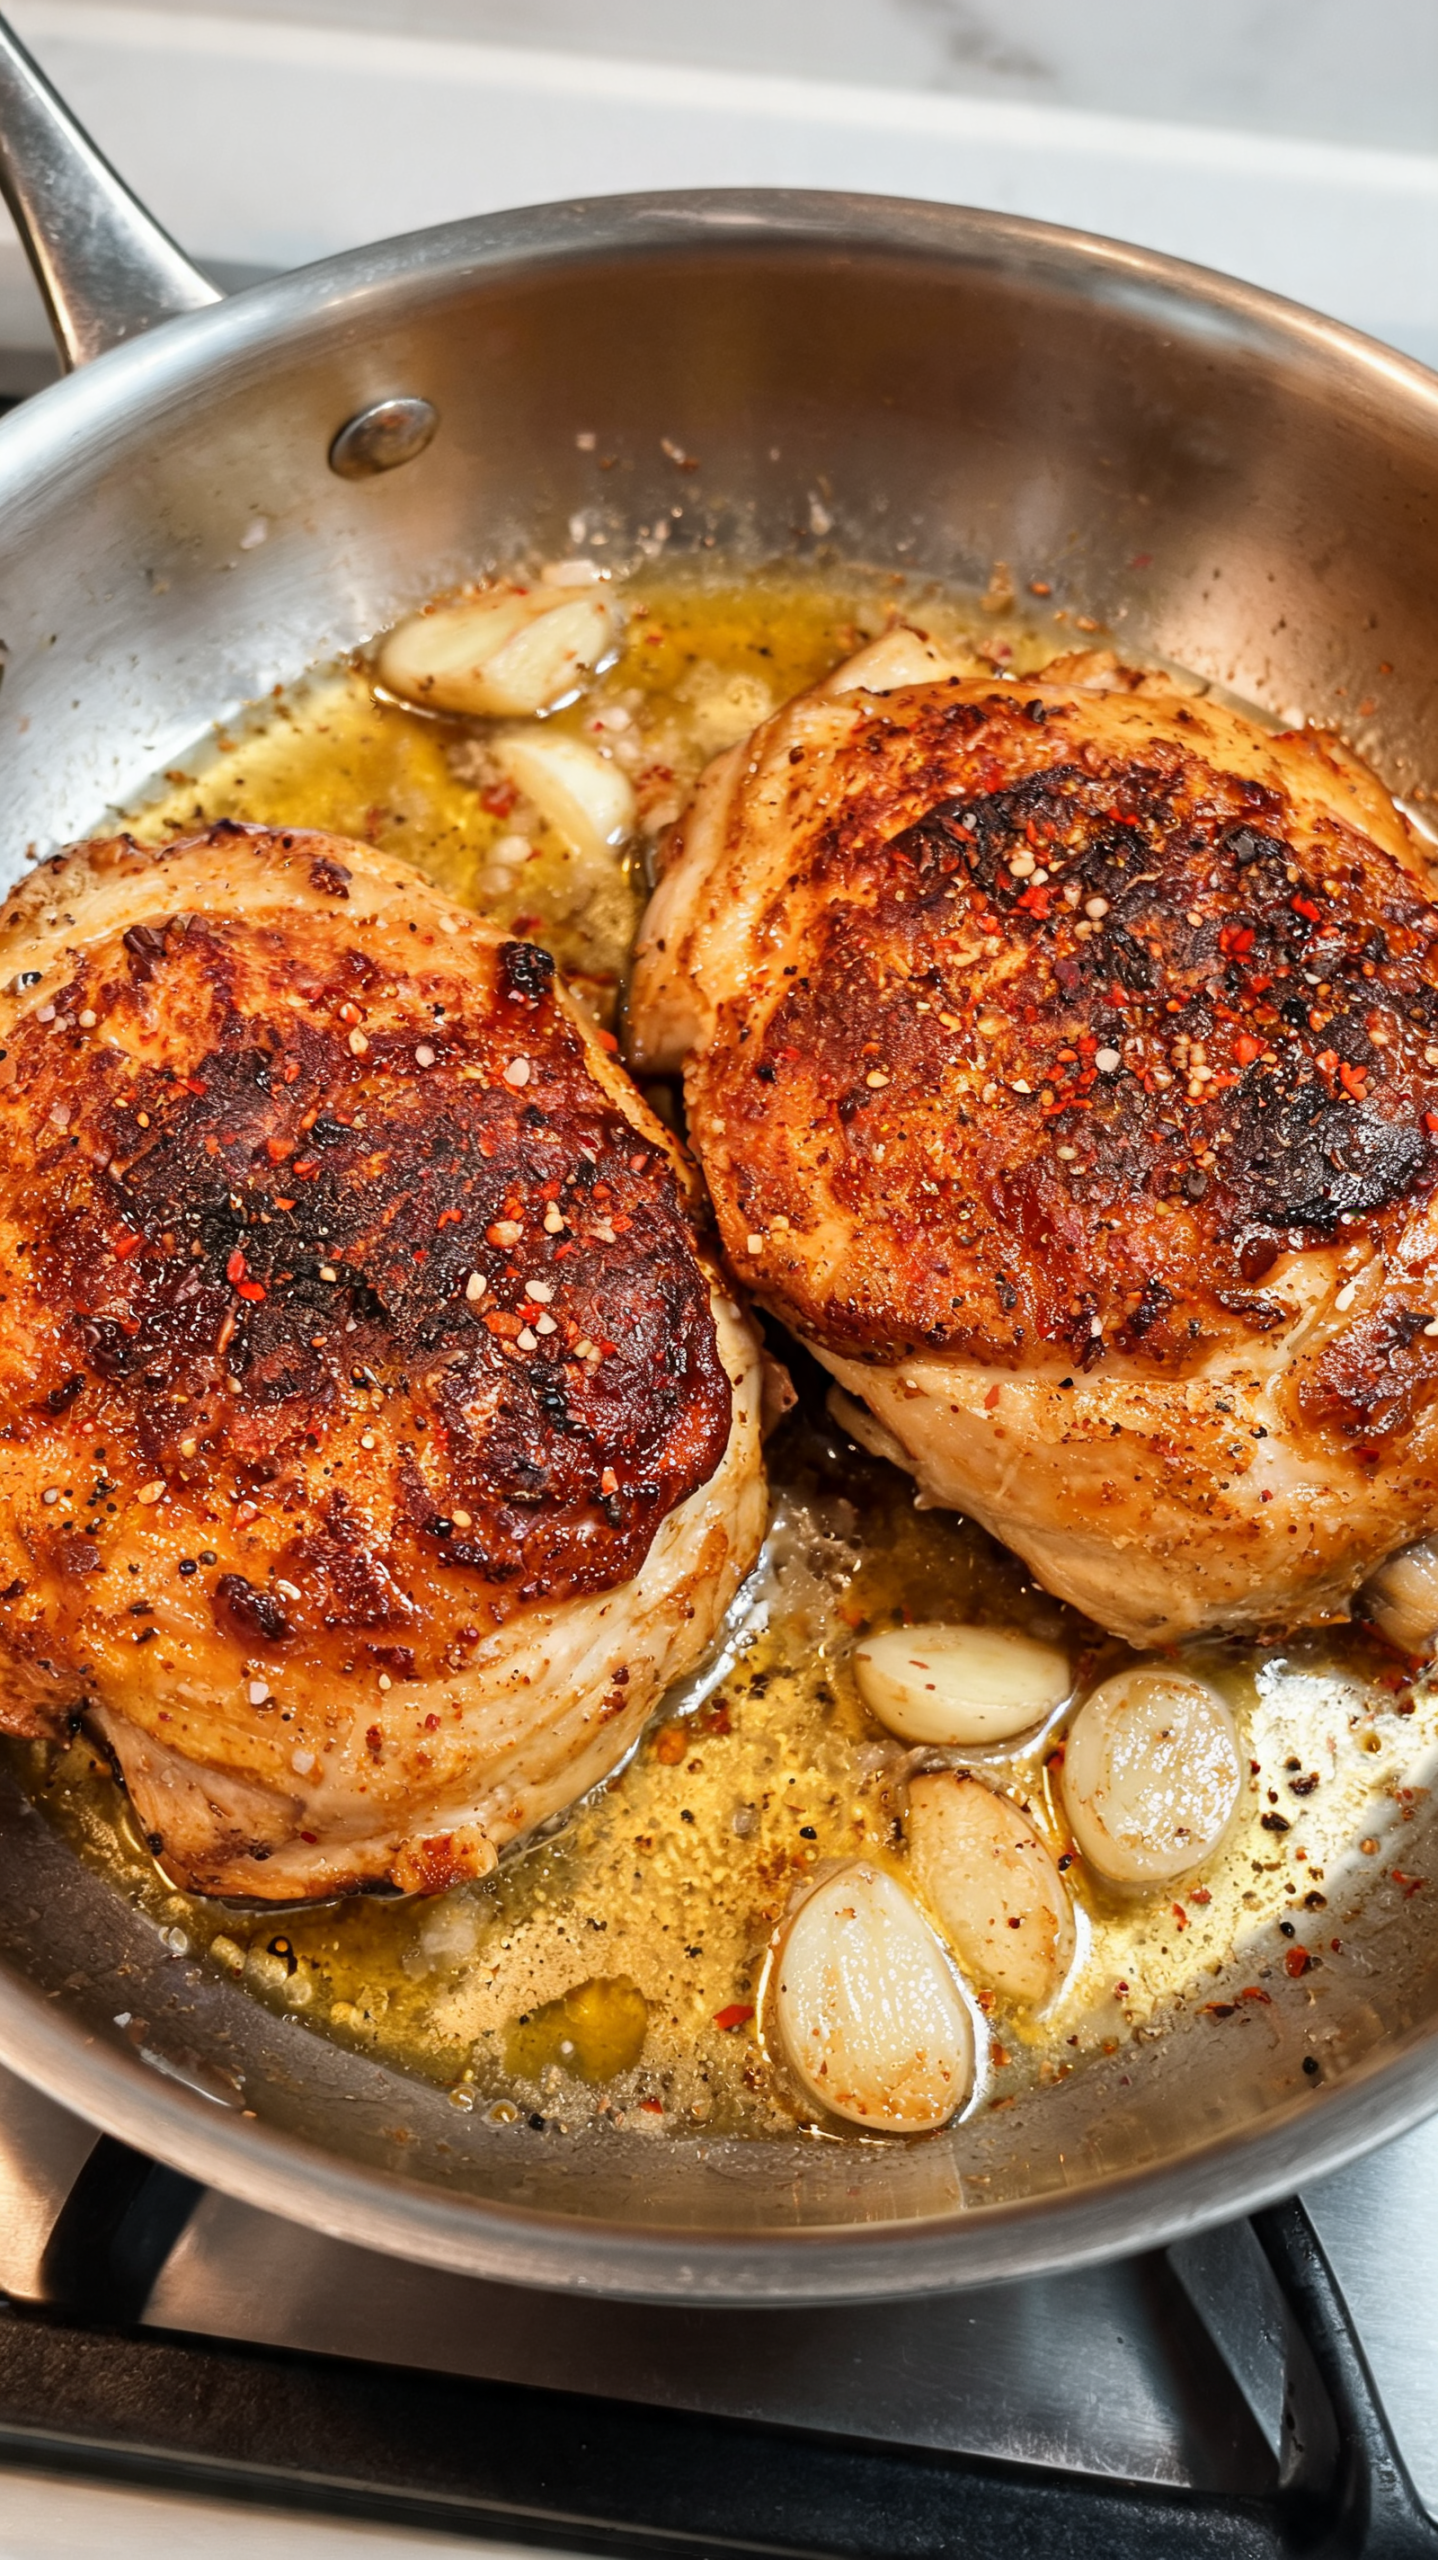
- Continue cooking and spooning the garlic butter over the thighs until the thickest part reaches 165°F (74°C).
- Remove the chicken from the skillet and let it rest for about 5 minutes so the juices settle back into the meat.
- Spoon a little of the garlic butter from the pan over the chicken before serving.
Leave a Reply