
Biscuit Chicken Pot Pie is a cozy, comforting dier made with tender chicken, colorful vegetables, and a creamy sauce, all finished with fluffy golden biscuits baked right on top. It has all the comforting flavors of classic chicken pot pie without the need to make a traditional pie crust.
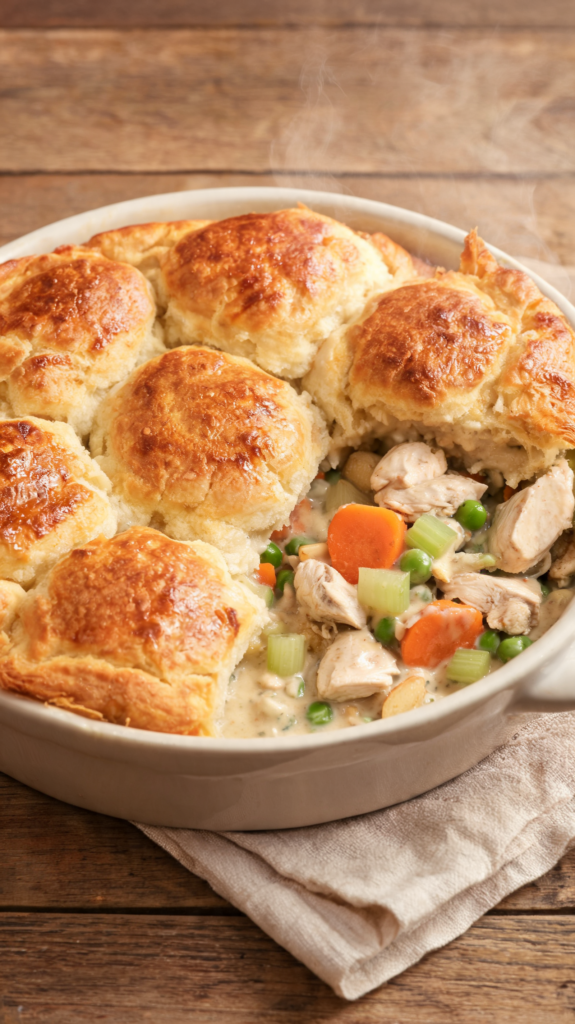
I love this recipe when I want something warm and filling that the whole family can enjoy. The creamy chicken filling is rich and savory, while the biscuits soak up some of that delicious sauce and turn beautifully golden on top.
It is also a great way to make a homemade dier without making things complicated. Everything comes together easily, and the oven does most of the work at the end.
Why You Will Love This Recipe
You will love this Biscuit Chicken Pot Pie because it is easy, hearty, and incredibly comforting. Instead of working with a pie crust, you simply spoon fluffy biscuit dough over the creamy chicken filling and bake until golden.
The filling is packed with tender chicken, carrots, peas, celery, and onions, so you get plenty of flavor and texture in every serving. The creamy sauce brings everything together without needing a complicated gravy.
The biscuits are my favorite part. They bake right over the filling, becoming golden on top while staying soft underneath where they meet that creamy sauce. It is the kind of dier that makes the kitchen smell amazing while it bakes.
Ingredients for Biscuit Chicken Pot Pie
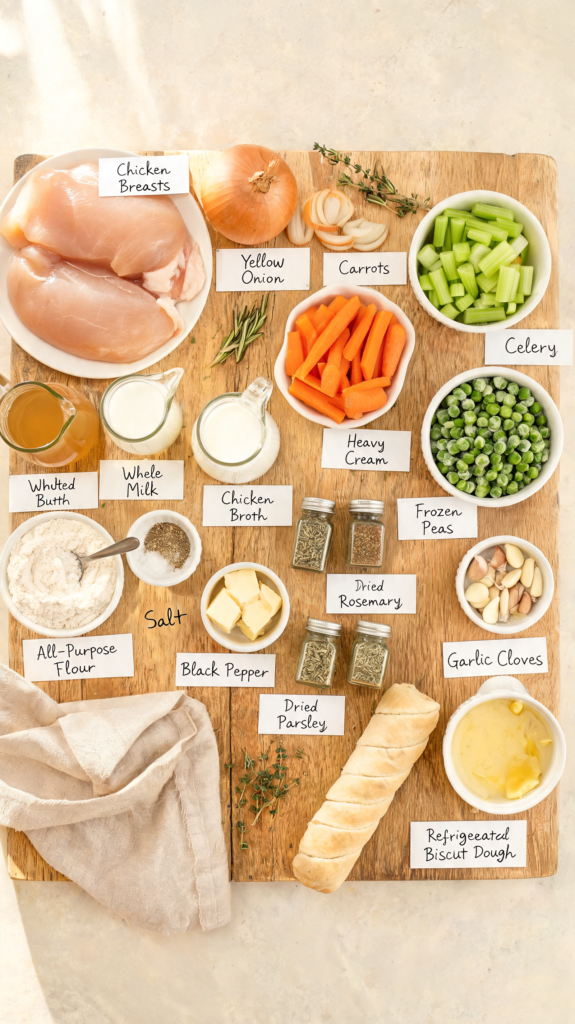
For the Chicken and Vegetables
- 1½ pounds boneless, skinless chicken breasts – Cut into small bite-sized pieces so the chicken cooks evenly and is easy to scoop up with the vegetables and sauce.
- 1 medium yellow onion, diced – Adds a savory base and a little natural sweetness to the filling.
- 2 medium carrots, diced – Add sweetness, color, and texture.
- 2 celery stalks, diced – Give the filling that classic chicken pot pie flavor.
- 1 cup frozen peas – Add sweetness and a bright pop of color. You can add them directly from frozen.
- 3 cloves garlic, minced – Adds extra savory flavor to the chicken and creamy sauce.
- 2 tablespoons butter – Used to cook the vegetables and create a rich base for the filling.
- ½ teaspoon salt – Seasons the chicken and vegetables. Adjust according to how salty your chicken broth is.
- ½ teaspoon black pepper – Adds mild peppery flavor and balances the creamy sauce.
For the Creamy Filling and Biscuits
- 3 tablespoons all-purpose flour – Thickens the chicken broth and creates the creamy consistency you want in a pot pie filling.
- 2 cups chicken broth – Provides the savory liquid base for the sauce.
- 1 cup whole milk – Adds creaminess while keeping the sauce smooth and light enough to spoon over the biscuits.
- ½ cup heavy cream – Makes the filling richer and gives it a velvety texture.
- 1 teaspoon dried thyme – Adds a warm herbal flavor that pairs especially well with chicken.
- ½ teaspoon dried rosemary – Adds a subtle earthy flavor to the creamy filling.
- 1 teaspoon dried parsley – Adds mild herbal flavor and works well with the other seasonings.
- 1 package refrigerated biscuit dough – Creates the easy golden topping. You can use your favorite refrigerated biscuits or homemade biscuit dough.
- 1 tablespoon melted butter – Brushed over the biscuits before baking to help them become golden and flavorful.
How to Make Biscuit Chicken Pot Pie
- Preheat the oven: Set your oven to 400°F (200°C). Lightly grease a large oven-safe skillet or baking dish. Starting with a fully preheated oven helps the biscuits rise and turn golden while the filling gets hot and bubbly.
- Prepare the chicken: Cut the chicken breasts into evenly sized bite-sized pieces and pat them dry with paper towels. Season them lightly with salt and black pepper. Cutting the chicken into similar sizes helps everything cook evenly.
- Cook the chicken: Melt the butter in a large oven-safe skillet over medium-high heat. Add the chicken and cook for about 5–7 minutes, stirring occasionally, until the pieces are lightly golden and mostly cooked through. Remove the chicken from the skillet and set it aside. It will finish cooking later in the creamy filling.
- Sauté the vegetables: Add the diced onion, carrots, and celery to the same skillet. Cook for about 6–8 minutes, stirring occasionally, until the vegetables begin to soften. Add the minced garlic and cook for another 30–60 seconds. I like using the same skillet because all those little browned bits left from the chicken add extra flavor to the vegetables and sauce.
- Add the flour: Sprinkle the flour over the vegetables and stir continuously for about 1–2 minutes. Make sure the flour coats the vegetables evenly. This short cooking time helps remove the raw flour taste and prepares it to thicken the sauce.
- Pour in the chicken broth: Slowly add the chicken broth while stirring constantly. Scrape the bottom of the skillet with a wooden spoon as you stir to loosen any browned bits. The sauce may look thin at first, but it will begin to thicken as it simmers.
- Add the milk and cream: Pour in the whole milk and heavy cream. Add the thyme, rosemary, dried parsley, remaining salt, and black pepper. Stir everything together and bring the mixture to a gentle simmer.
- Return the chicken: Add the cooked chicken back to the skillet and stir it into the creamy sauce. Let everything simmer for about 5–7 minutes, or until the chicken is completely cooked and the sauce has thickened enough to coat the back of a spoon.
- Add the peas: Stir in the frozen peas and cook for about 2–3 minutes. You only need to warm them through. I like adding peas toward the end because they stay bright green and don’t turn mushy.
- Check the filling: Taste the filling and adjust the salt and pepper if needed. If it seems too thick, add a small splash of chicken broth or milk. If it is too thin, let it simmer uncovered for another couple of minutes.
- Arrange the biscuits: Separate the refrigerated biscuits and place them evenly over the surface of the chicken filling. Leave small spaces between them so the hot air can circulate and the biscuits can cook properly. Don’t press the biscuits down into the filling because you want the tops exposed to the heat.
- Brush with butter: Lightly brush the tops of the biscuits with melted butter. This gives them a beautiful golden color and adds a little extra buttery flavor.
- Bake the pot pie: Carefully transfer the skillet to the preheated oven. Bake for about 15–20 minutes, or until the biscuits are puffed and golden brown and the filling is bubbling around the edges. Cooking time can vary slightly depending on the size and type of biscuits you’re using.
- Check the biscuits: Make sure the biscuits are cooked through in the center before removing the pot pie from the oven. If the tops are browning too quickly but the centers still need time, loosely cover the biscuits with foil and continue baking.
- Let it rest: Remove the skillet from the oven and let the pot pie rest for about 5–10 minutes. The filling will thicken slightly as it rests, making it easier to serve without the sauce ruing everywhere.
- Serve warm: Spoon the creamy chicken filling onto plates and make sure everyone gets one of those golden biscuits on top. I like serving it straight from the baking dish because the bubbling filling and golden biscuits make it look just as comforting as it tastes.
What to Serve Biscuit Chicken Pot Pie
Biscuit Chicken Pot Pie is already a complete meal with chicken, vegetables, creamy sauce, and biscuits, so you really don’t need much on the side. If you want something fresh to balance the richness, a simple green salad with a light vinaigrette is an excellent choice. The crisp vegetables and tangy dressing give you a nice contrast to the creamy filling.
Roasted or steamed vegetables also work well. Green beans, broccoli, asparagus, or Brussels sprouts add freshness without taking away from the main dish. Roasted carrots are another good option if you want to bring out the natural sweetness already found in the pot pie.
If you’re serving this for a larger family dier, a light cucumber salad or simple mixed greens can keep the meal balanced. I wouldn’t add another heavy starch because the biscuits already give you plenty of that soft, buttery comfort you want from a pot pie.
You can also serve the pot pie with a little extra gravy or a spoonful of cranberry sauce if you’re making it around the holidays. The slightly sweet and tangy cranberry flavor can be a surprisingly nice contrast to the savory chicken filling.
How to Store and Reheat
Store leftover Biscuit Chicken Pot Pie in an airtight container and refrigerate it for up to 4 days. If possible, keep the biscuits separate from the creamy filling because they will gradually absorb moisture and become softer in the refrigerator. If you have already stored everything together, that’s completely fine; the leftovers will still taste delicious.
For the best results, reheat the filling and biscuits in the oven. Place the leftovers in an oven-safe dish and heat at 350°F (175°C) for about 15–25 minutes, depending on the amount you’re reheating. Cover the dish loosely with foil if the biscuits are already golden enough, then remove the foil during the final few minutes to help the tops crisp up again.
An air fryer also works well for individual portions. Heat at around 350°F (175°C) until the filling is hot and the biscuit topping has crisped back up. This is especially useful when you only have one or two servings left.
You can use the microwave when you need a quick meal. Heat an individual portion in 60–90 second intervals, checking between each interval until the filling is hot. The biscuits will be softer than they are when freshly baked, but the flavor will still be good. When I have the time, I prefer the oven because it brings some of that golden biscuit texture back.
To freeze the filling, let it cool completely and transfer it to a freezer-safe container. Freeze for up to 3 months for the best quality. Thaw it overnight in the refrigerator, then reheat the filling and add fresh biscuit dough on top before baking. This gives you much better biscuit texture than freezing already-baked biscuits with the filling.
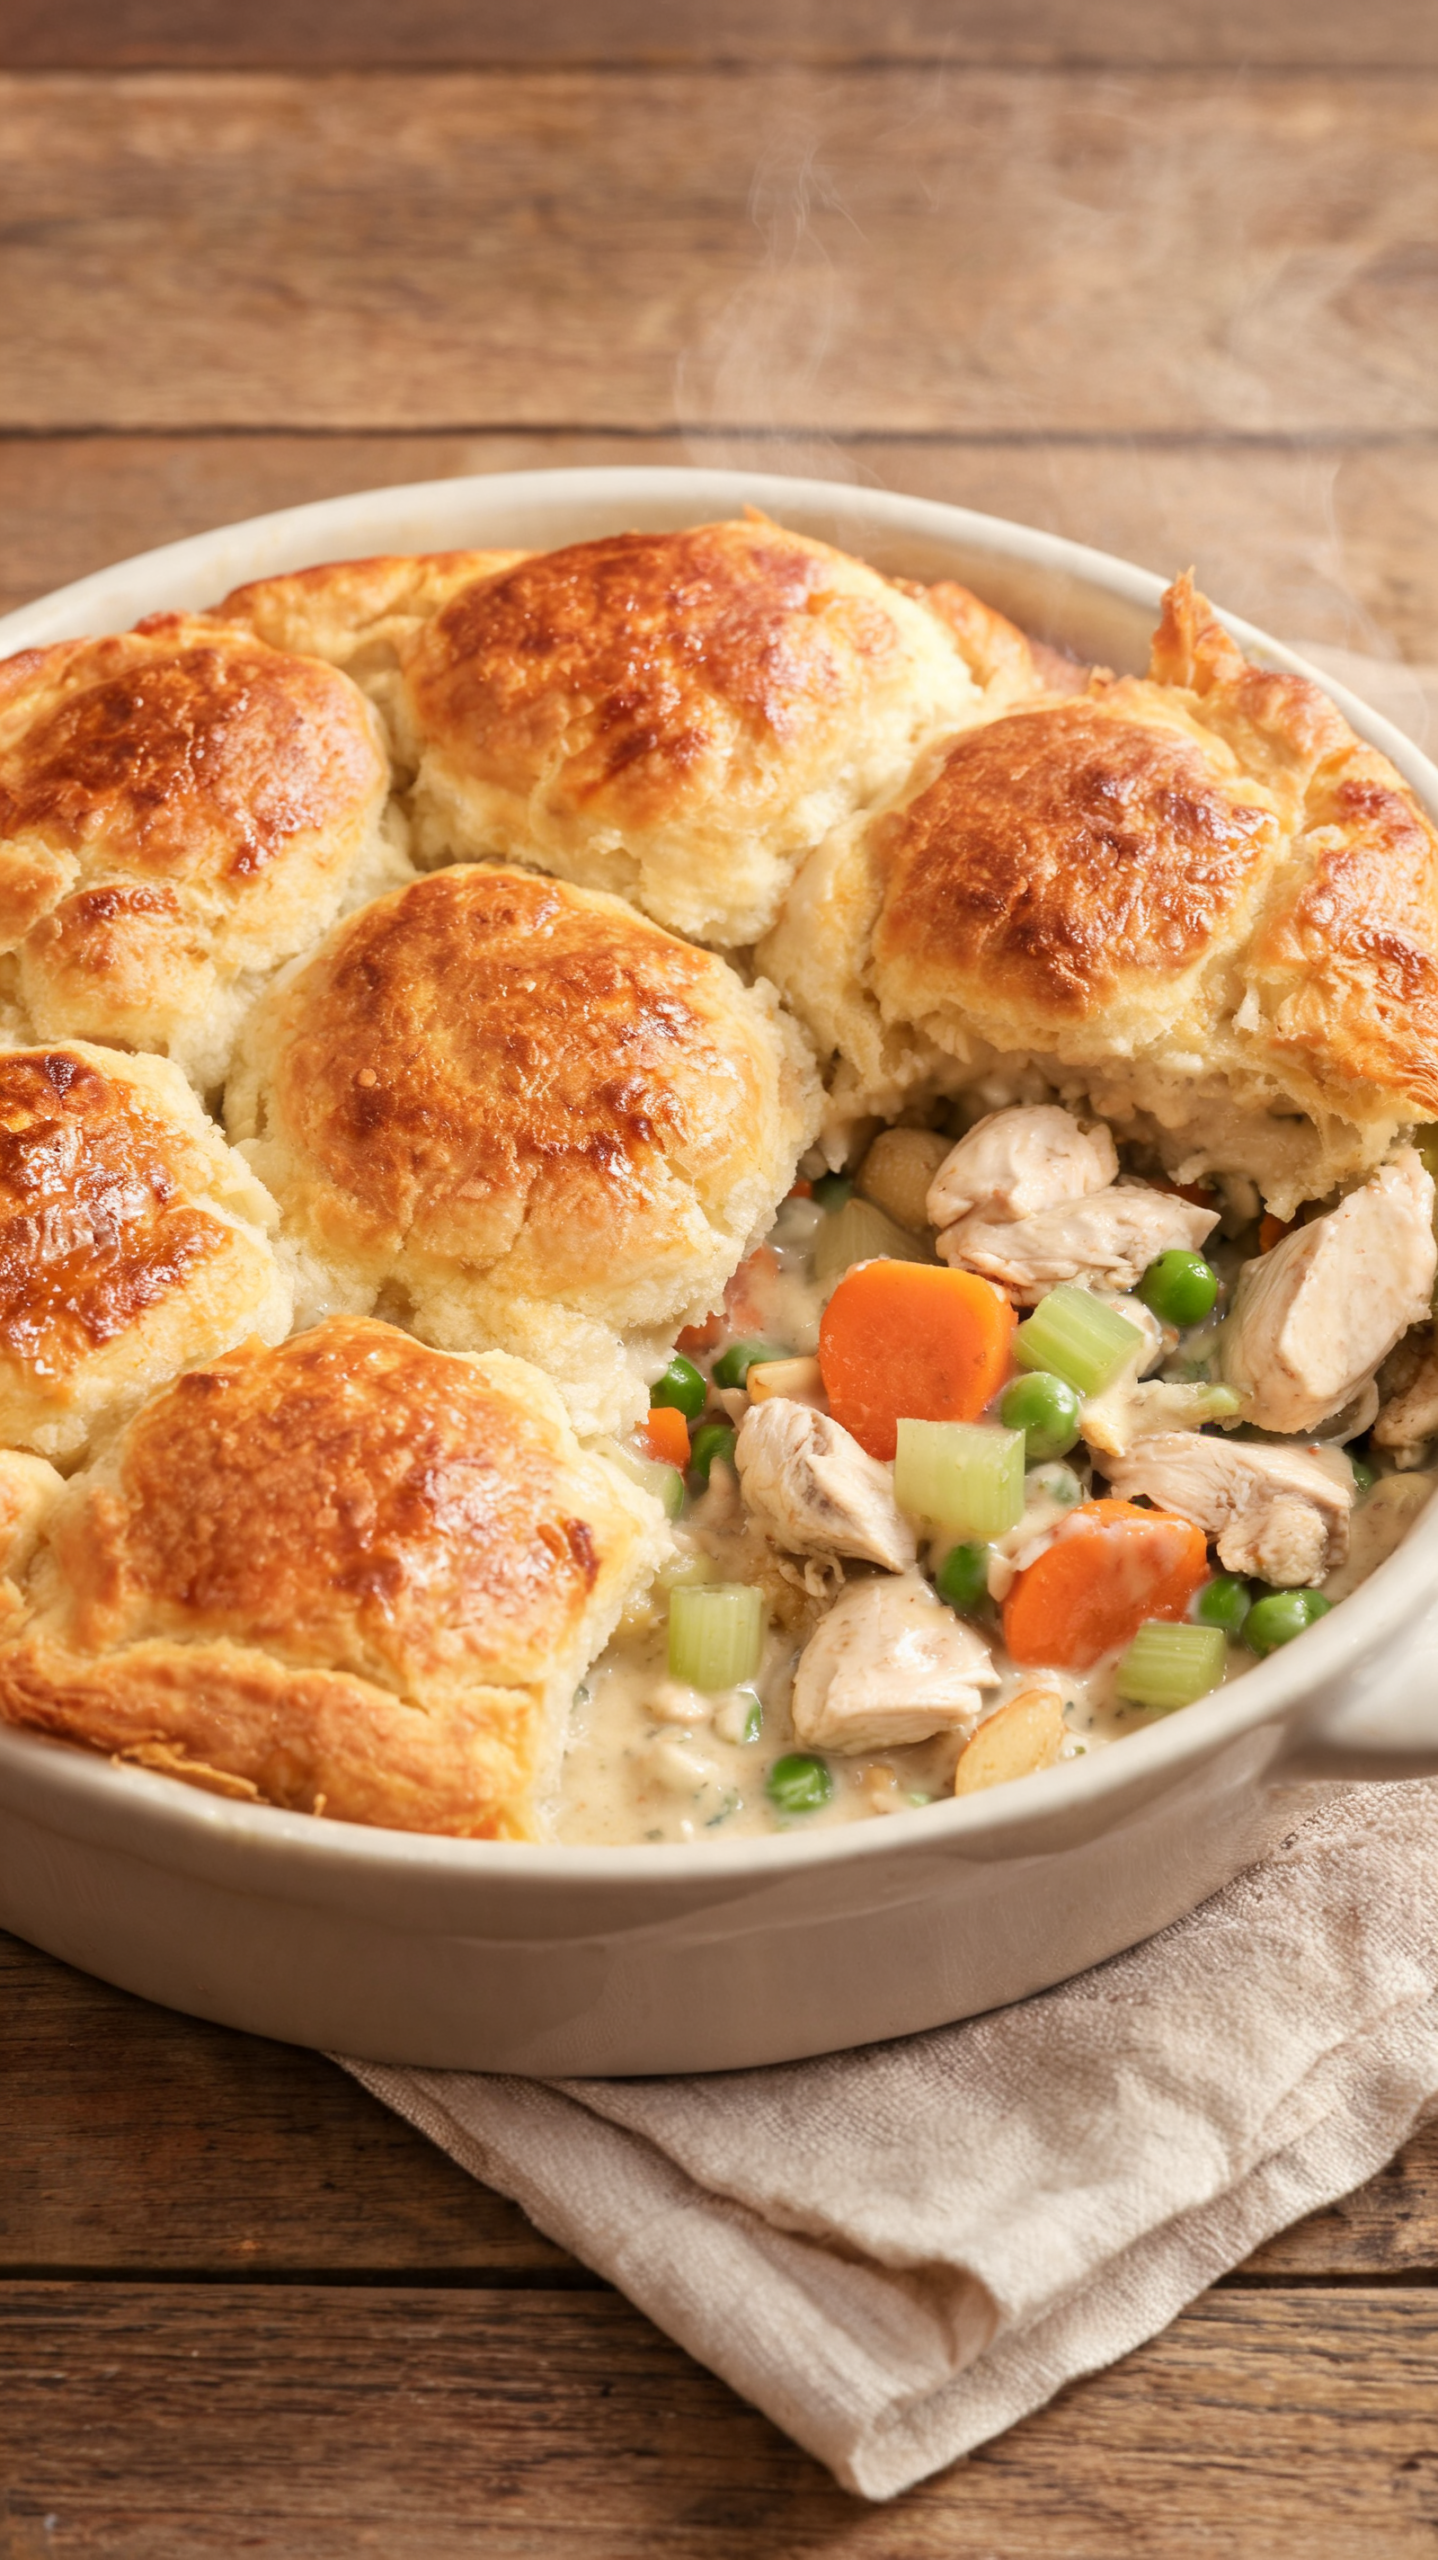
Biscuit Chicken Pot Pie
Ingredients
Method
- Set your oven to 400°F (200°C). Lightly grease a large oven-safe skillet or baking dish. Starting with a fully preheated oven helps the biscuits rise and turn golden while the filling gets hot and bubbly.
- Cut the chicken breasts into evenly sized bite-sized pieces and pat them dry with paper towels. Season them lightly with salt and black pepper. Cutting the chicken into similar sizes helps everything cook evenly.
- Melt the butter in a large oven-safe skillet over medium-high heat. Add the chicken and cook for about 5–7 minutes, stirring occasionally, until the pieces are lightly golden and mostly cooked through. Remove the chicken from the skillet and set it aside. It will finish cooking later in the creamy filling.
- Add the diced onion, carrots, and celery to the same skillet. Cook for about 6–8 minutes, stirring occasionally, until the vegetables begin to soften. Add the minced garlic and cook for another 30–60 seconds. I like using the same skillet because all those little browned bits left from the chicken add extra flavor to the vegetables and sauce.
- Sprinkle the flour over the vegetables and stir continuously for about 1–2 minutes. Make sure the flour coats the vegetables evenly. This short cooking time helps remove the raw flour taste and prepares it to thicken the sauce.
- Slowly add the chicken broth while stirring constantly. Scrape the bottom of the skillet with a wooden spoon as you stir to loosen any browned bits. The sauce may look thin at first, but it will begin to thicken as it simmers.
- Pour in the whole milk and heavy cream. Add the thyme, rosemary, dried parsley, remaining salt, and black pepper. Stir everything together and bring the mixture to a gentle simmer.
- Add the cooked chicken back to the skillet and stir it into the creamy sauce. Let everything simmer for about 5–7 minutes, or until the chicken is completely cooked and the sauce has thickened enough to coat the back of a spoon.
- Stir in the frozen peas and cook for about 2–3 minutes. You only need to warm them through. I like adding peas toward the end because they stay bright green and don’t turn mushy.
- Taste the filling and adjust the salt and pepper if needed. If it seems too thick, add a small splash of chicken broth or milk. If it is too thin, let it simmer uncovered for another couple of minutes.
- Separate the refrigerated biscuits and place them evenly over the surface of the chicken filling. Leave small spaces between them so the hot air can circulate and the biscuits can cook properly. Don’t press the biscuits down into the filling because you want the tops exposed to the heat.
- Lightly brush the tops of the biscuits with melted butter. This gives them a beautiful golden color and adds a little extra buttery flavor.
- Carefully transfer the skillet to the preheated oven. Bake for about 15–20 minutes, or until the biscuits are puffed and golden brown and the filling is bubbling around the edges. Cooking time can vary slightly depending on the size and type of biscuits you’re using.
- Make sure the biscuits are cooked through in the center before removing the pot pie from the oven. If the tops are browning too quickly but the centers still need time, loosely cover the biscuits with foil and continue baking.
- Remove the skillet from the oven and let the pot pie rest for about 5–10 minutes. The filling will thicken slightly as it rests, making it easier to serve without the sauce running everywhere.
- Spoon the creamy chicken filling onto plates and make sure everyone gets one of those golden biscuits on top. I like serving it straight from the baking dish because the bubbling filling and golden biscuits make it look just as comforting as it tastes.
Leave a Reply