
Sticky, sweet, savory, and loaded with irresistible flavor, this Better-Than-Takeout Teriyaki Chicken Breast Recipe is a dinner you’ll want to make on repeat.
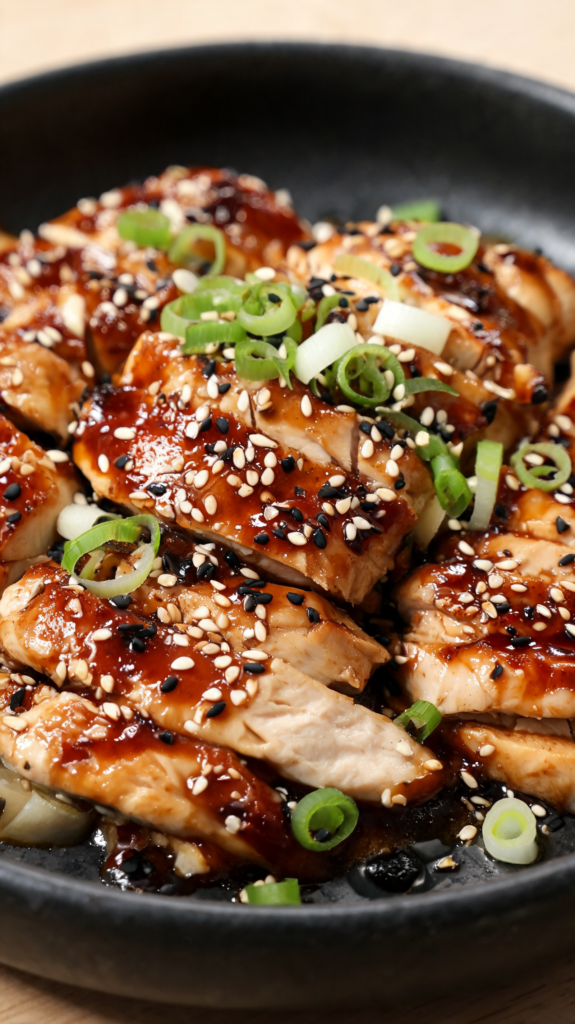
Juicy chicken breasts are seared until golden, then coated in a rich, glossy homemade teriyaki sauce that’s perfectly balanced with soy sauce, honey, garlic, and ginger. Every bite is tender, flavorful, and covered in a delicious glaze that tastes even better than your favorite takeout. Best of all, this satisfying weeknight dinner is ready in about 35 minutes using simple pantry ingredients.
I love making homemade Teriyaki Chicken Breast because it’s fresher, healthier, and lets you control every ingredient. The homemade sauce has the perfect combination of sweet and savory flavors without being overly salty or sugary.
As the sauce simmers, it thickens into a beautiful glaze that coats every piece of chicken, making each bite incredibly satisfying. This recipe is also wonderfully versatile. Serve it over steamed rice, noodles, stir-fried vegetables, or even in lettuce wraps for a lighter meal.
It’s an excellent meal prep option too, since the chicken stays juicy and the teriyaki sauce becomes even more flavorful after a day in the refrigerator. Whether you’re feeding your family or simply craving a homemade version of your favorite Asian-inspired dish, this recipe never disappoints.
Why You’ll Love This Recipe
- Better than your favorite takeout.
- Sweet, savory, and perfectly balanced teriyaki sauce.
- Juicy chicken with a sticky, glossy glaze.
- Ready in about 35 minutes.
- Made with simple pantry ingredients.
- Perfect for meal prep.
- Family-friendly and beginner-friendly.
- Delicious with rice, noodles, or vegetables.
Ingredients You’ll Need
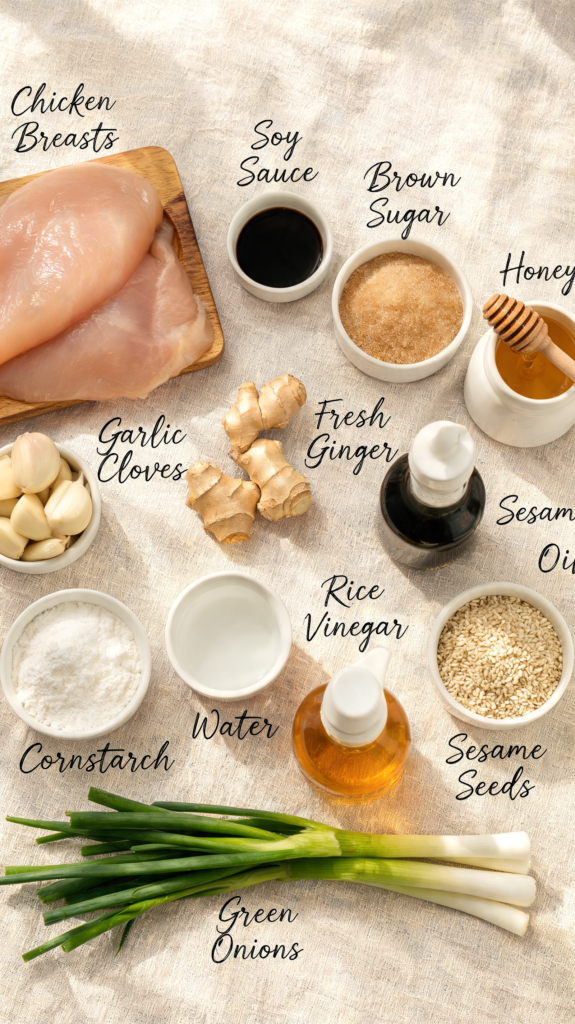
- 2 large boneless, skinless chicken breasts – Pound to an even thickness or slice into cutlets for quicker cooking.
- 2 tablespoons vegetable oil – Helps the chicken develop a beautiful golden crust.
- 3 cloves garlic, minced – Adds bold savory flavor to the sauce.
- 1 tablespoon fresh ginger, grated – Gives the sauce its signature fresh, warm flavor.
- ⅓ cup low-sodium soy sauce – Forms the savory base of the teriyaki sauce.
- 3 tablespoons honey – Adds natural sweetness and creates a glossy glaze.
- 2 tablespoons brown sugar – Deepens the caramelized flavor.
- 1 tablespoon rice vinegar – Balances the sweetness with a touch of acidity.
- 1 teaspoon sesame oil – Adds authentic nutty flavor.
- 1 tablespoon cornstarch – Thickens the sauce into a silky glaze.
- 2 tablespoons water – Mixed with the cornstarch to make a slurry.
- 1 teaspoon sesame seeds – For garnish.
- 2 green onions, sliced – Add freshness and color before serving.
Kitchen Tools You’ll Need
- Large skillet
- Small mixing bowl
- Whisk
- Measuring cups
- Measuring spoons
- Cutting board
- Sharp knife
- Tongs
- Meat thermometer
- Grater
How to Make Better-Than-Takeout Teriyaki Chicken Breast
Step 1: Prepare the chicken
Pat the chicken breasts dry with paper towels. If they’re very thick, pound them to an even thickness or slice them into thinner cutlets so they cook evenly.
Step 2: Mix the teriyaki sauce
In a bowl, whisk together the soy sauce, honey, brown sugar, rice vinegar, sesame oil, garlic, and grated ginger until everything is well combined. In a separate small bowl, stir together the cornstarch and water to make a smooth slurry.
Step 3: Sear the chicken
Heat the vegetable oil in a large skillet over medium-high heat. Add the chicken and cook for about 5 to 6 minutes on one side until deeply golden. Flip and cook for another 4 to 5 minutes. Transfer the chicken to a clean plate while you finish the sauce.
Step 4: Build the glaze
Pour the prepared teriyaki sauce into the same skillet, scraping up the flavorful browned bits from the bottom of the pan. Bring it to a gentle simmer.
Step 5: Thicken the sauce
Whisk the cornstarch slurry one more time, then slowly pour it into the simmering sauce while stirring constantly. Continue cooking for 2 to 3 minutes until the sauce thickens into a rich, glossy glaze.
Step 6: Coat the chicken
Return the chicken breasts and any accumulated juices to the skillet. Spoon the thickened teriyaki glaze over the chicken several times, turning it occasionally so every side is evenly coated. Continue cooking until the chicken reaches an internal temperature of 165°F (74°C).
Step 7: Finish and garnish
Remove the skillet from the heat and let the chicken rest for a couple of minutes. Sprinkle with sesame seeds and green onions, then spoon extra sauce over the top before serving.
Recipe Variations
Spicy Teriyaki Chicken
Add 1 teaspoon sriracha or ½ teaspoon red pepper flakes for a sweet and spicy version.
Pineapple Teriyaki Chicken
Add pineapple chunks during the final few minutes of cooking for a tropical twist.
Garlic Teriyaki Chicken
Double the garlic for an even bolder savory flavor.
Teriyaki Chicken Stir-Fry
Slice the cooked chicken and toss it with broccoli, bell peppers, carrots, and snap peas for an easy one-pan meal.
What to Serve With Better-Than-Takeout Teriyaki Chicken Breast
This sticky and flavorful chicken pairs well with a variety of Asian-inspired sides.
- Steamed jasmine rice
- Fried rice
- Lo mein noodles
- Stir-fried vegetables
- Broccoli
- Bok choy
- Snap peas
- Cucumber salad
- Egg rolls
- Steamed edamame
How to Store and Reheat
Refrigerator
Store leftover chicken and sauce in an airtight container for up to 4 days.
Freezer
Freeze the cooked chicken with the sauce for up to 3 months. Thaw overnight in the refrigerator before reheating.
Reheating
Warm the chicken gently in a skillet over medium-low heat. Add a splash of water if the sauce has become too thick. You can also microwave individual portions until heated through.
Common Mistakes to Avoid
Adding the cornstarch too early
Always let the sauce begin simmering before adding the slurry. This helps it thicken smoothly without becoming lumpy.
Overcooking the chicken
Chicken breasts cook quickly. Remove them from the heat once they reach 165°F (74°C) to keep them juicy.
Using high-sodium soy sauce
Regular soy sauce can make the dish too salty. Low-sodium soy sauce creates a better-balanced teriyaki glaze.
Forgetting to stir the sauce
The honey and sugar can settle as the sauce cooks. Stir occasionally to keep everything smooth and prevent scorching.
Skipping the garnish
Sesame seeds and green onions add freshness, texture, and the finishing touch that makes the dish look and taste complete.
Frequently Asked Questions
Can I use store-bought teriyaki sauce?
Yes, but homemade teriyaki sauce has a fresher flavor and lets you control the sweetness and sodium.
Can I grill Teriyaki Chicken Breast?
Absolutely. Grill the chicken first, then brush it with the teriyaki glaze during the final few minutes of cooking.
How do I make the sauce thicker?
Simply add a little more cornstarch slurry and simmer until the sauce reaches your desired consistency.
Can I make this recipe ahead of time?
Yes. The flavors deepen as the chicken sits, making it an excellent meal prep recipe.
What vegetables go well with Teriyaki Chicken Breast?
Broccoli, carrots, bell peppers, snap peas, mushrooms, bok choy, and zucchini all pair wonderfully with the sweet and savory teriyaki glaze.
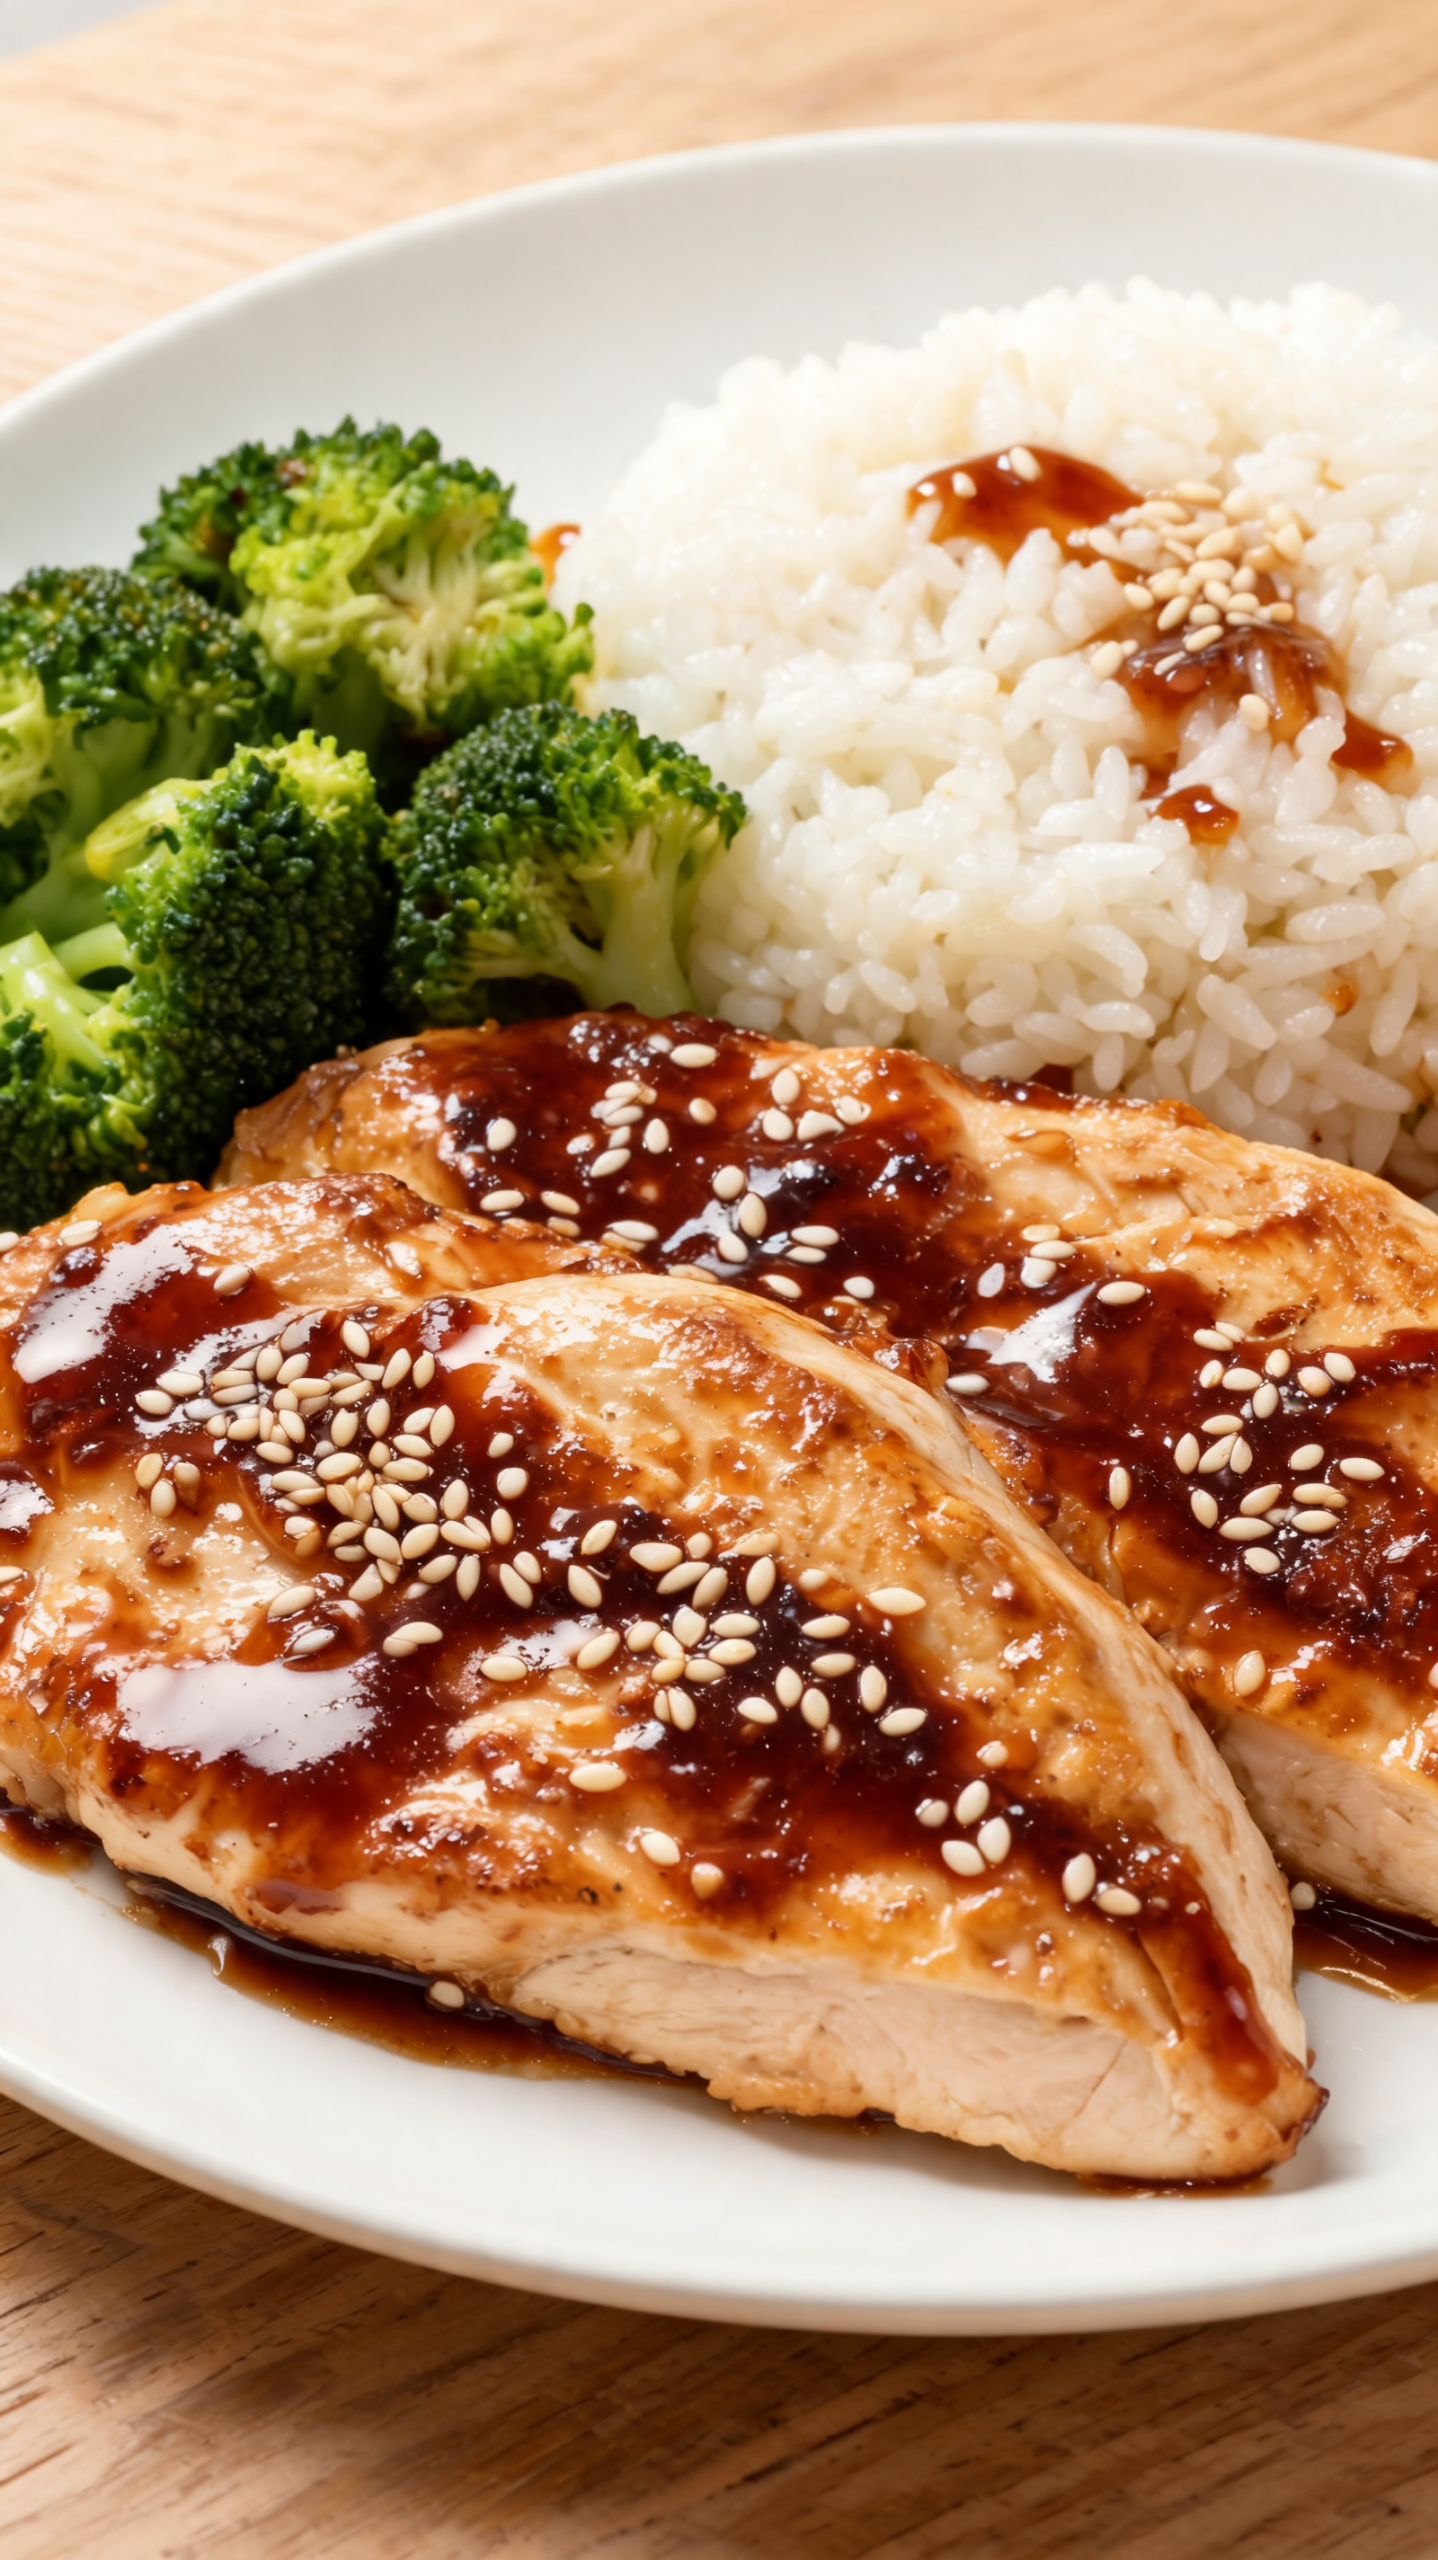
Teriyaki Chicken Breast Recipe
Ingredients
Method
- Pat the chicken breasts dry with paper towels. Pound them to an even thickness if needed.
- Season both sides with garlic powder, onion powder, ground ginger, salt, and black pepper.
- In a small bowl, whisk together the soy sauce, honey, brown sugar, water, rice vinegar, and sesame oil.
- Heat the olive oil in a large skillet over medium-high heat.
- Cook the chicken for 5 to 6 minutes per side until golden brown.
- Reduce the heat to medium. Add the minced garlic and cook for 30 seconds until fragrant.
- Pour the teriyaki sauce into the skillet and bring it to a gentle simmer.
- Stir in the cornstarch slurry and cook for 1 to 2 minutes, stirring until the sauce thickens into a glossy glaze.
- Spoon the sauce over the chicken, turning it once to coat both sides. Cook until the internal temperature reaches 165°F (74°C).
- Remove the chicken from the skillet and let it rest for 5 minutes.
- Slice the chicken, drizzle with the remaining teriyaki sauce, and garnish with sesame seeds and green onions before serving.
Notes
- Fresh grated ginger can replace ground ginger for a brighter flavor.
- Do not let the sauce boil rapidly, or it may become too thick.
- Add steamed broccoli, snap peas, or carrots directly to the skillet for an easy one-pan meal.
- Store leftovers in an airtight container in the refrigerator for up to 4 days.
- Serve with jasmine rice, fried rice, noodles, or stir-fried vegetables.
Leave a Reply